Just upgraded to WordPress 3.3.1 and it was fairly painless. I procrastinated the upgrade for several subversions because I knew I would have to upgrade manually due to ‘permissions issues’ with my web space provider. My hesitation was unfounded, It went very smoothly.
Category Archives: Computers
MythTV – Fedora HTPC Rebuild Project part 3
See also…
- MythTV – Fedora HTPC Rebuild Project part 1 – The need for a rebuild
- MythTV – Fedora HTPC Rebuild Project part 2 – Home Automation / Weather Station
- MythTV – Fedora HTPC Rebuild Project part 4 – Loading and Configuring Software
Part 3 – Building the New Media Server
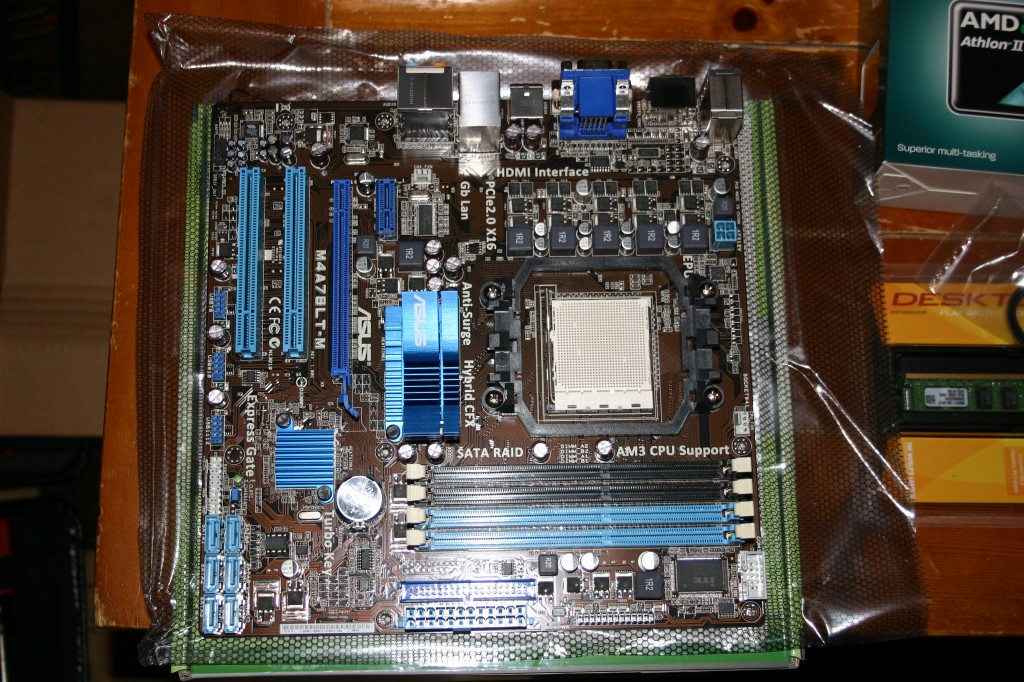
The Components…
Reused Components (from original machine I built in ’04 or ’05 as well as parts scavenged from here and there)
- Ahanix D-Vine ATX / micro-ATX HTPC chassis (no longer made)
- Samsung HD44780 VFD 16×2 (front panel LCD display)
- Sony SATA DVD / CD burner (traded out on another machine for the original Sony IDE DVD drive that was in the old media server)
- Logitech wireless USB keyboard & mouse
New Components
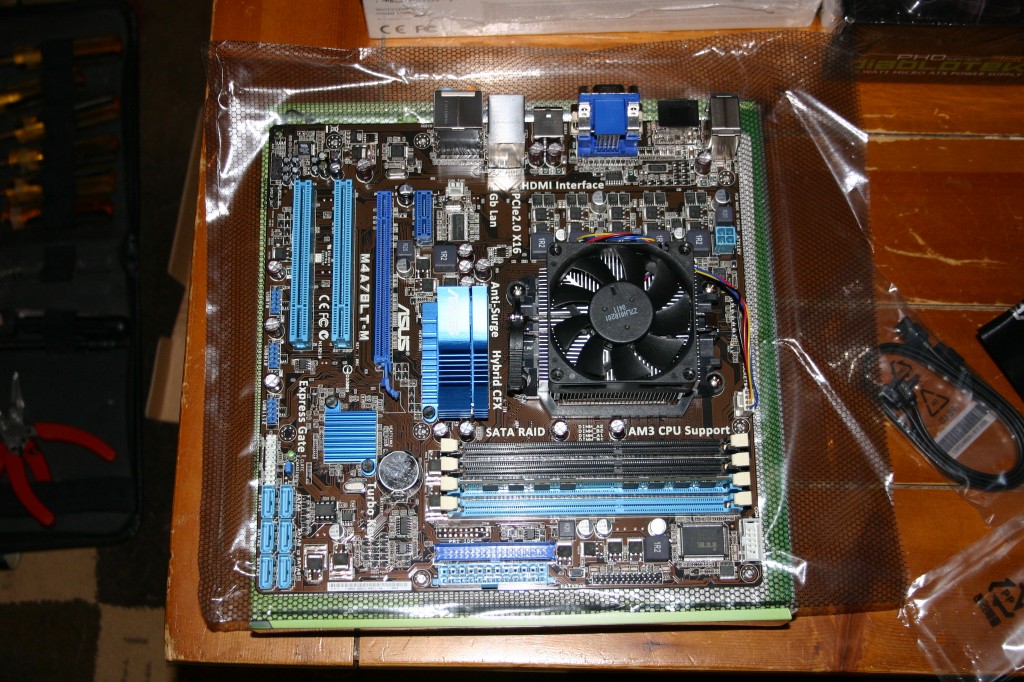
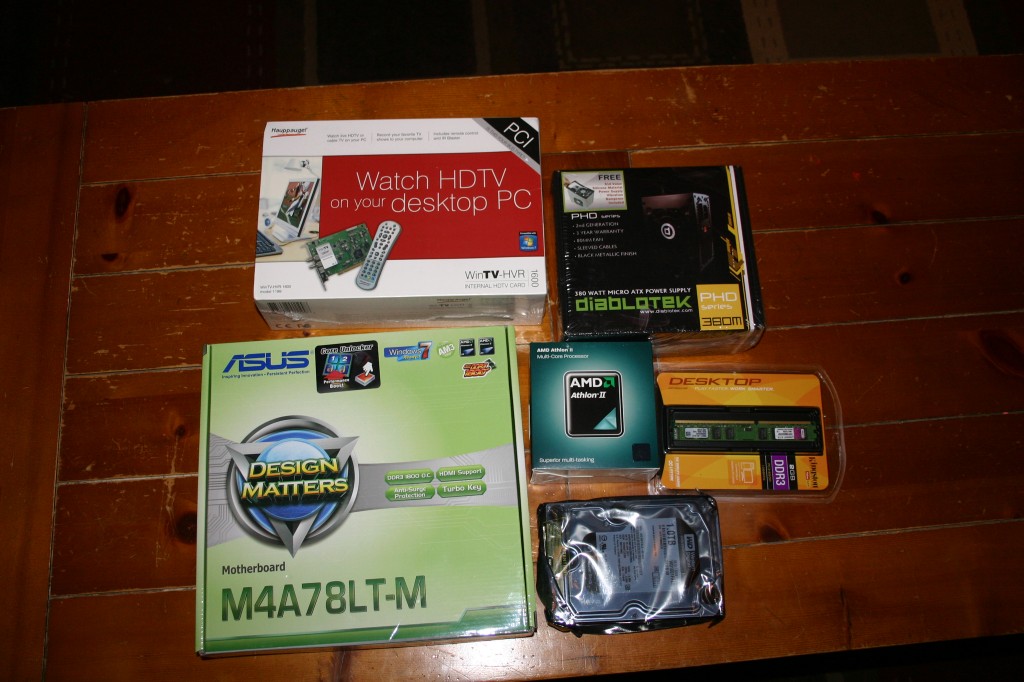
- ASUS M4A78LTM motherboard (on board ATI Radeon™ HD 3000 VGA/HDMI/DVI ports) (on board VIA VT1708S 8-Channel High Definition Audio)
- AMD Athlon II X2 3.0GHz microprocessor
- Kingston 2GB DDR3 RAM
- Western Digital Caviar Black 1TB SATA 3.0Gb/s
- Hauppauge HVR-1600 (model 1199) dual tuner (HDTV tuner) (NTSC analog tuner)
- Diablotek 380W Micro ATX power supply
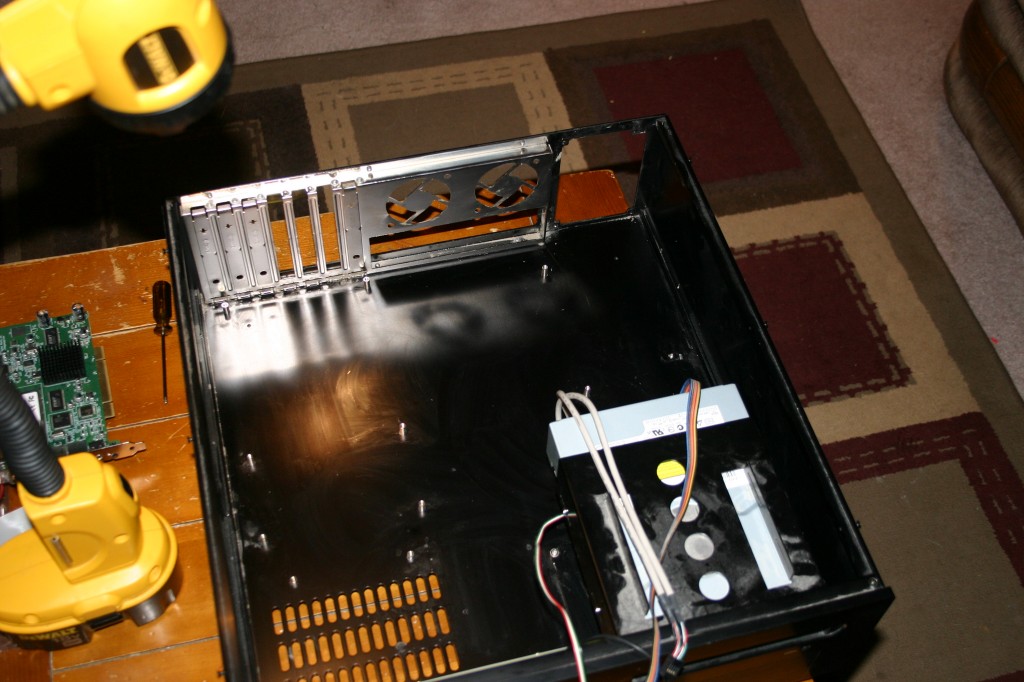
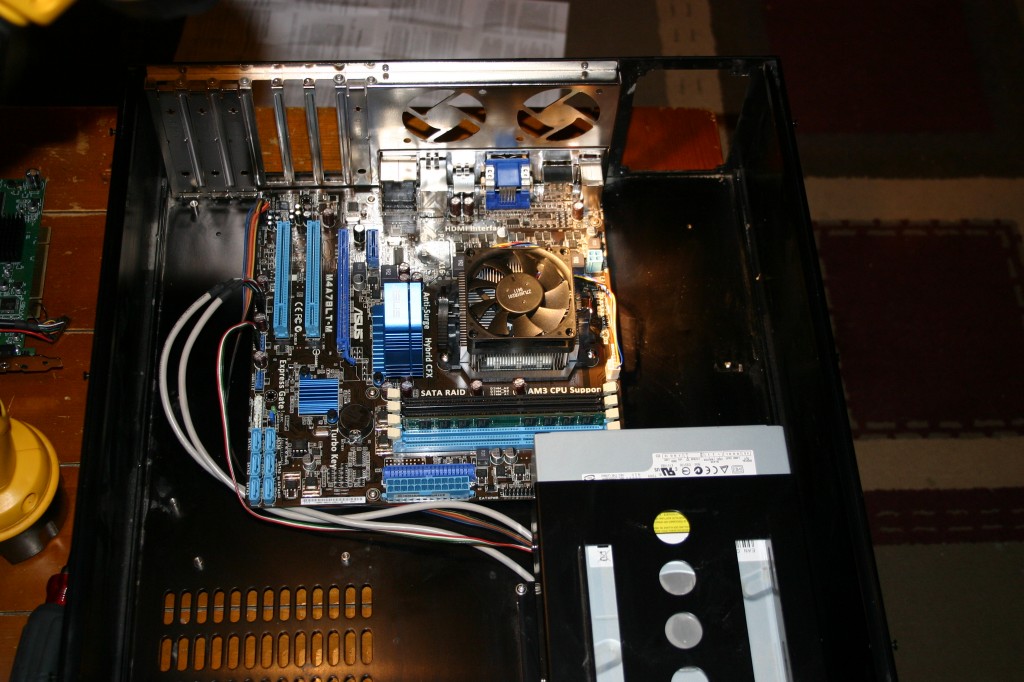 Now time for the left drive cage (containing the 1 TB hard drive) to be installed just behind the LCD card. Also installed at this point is the HDTV tuner, the system power supply and cable connections to the front panel audio inputs, front panel USB connections and card reader.
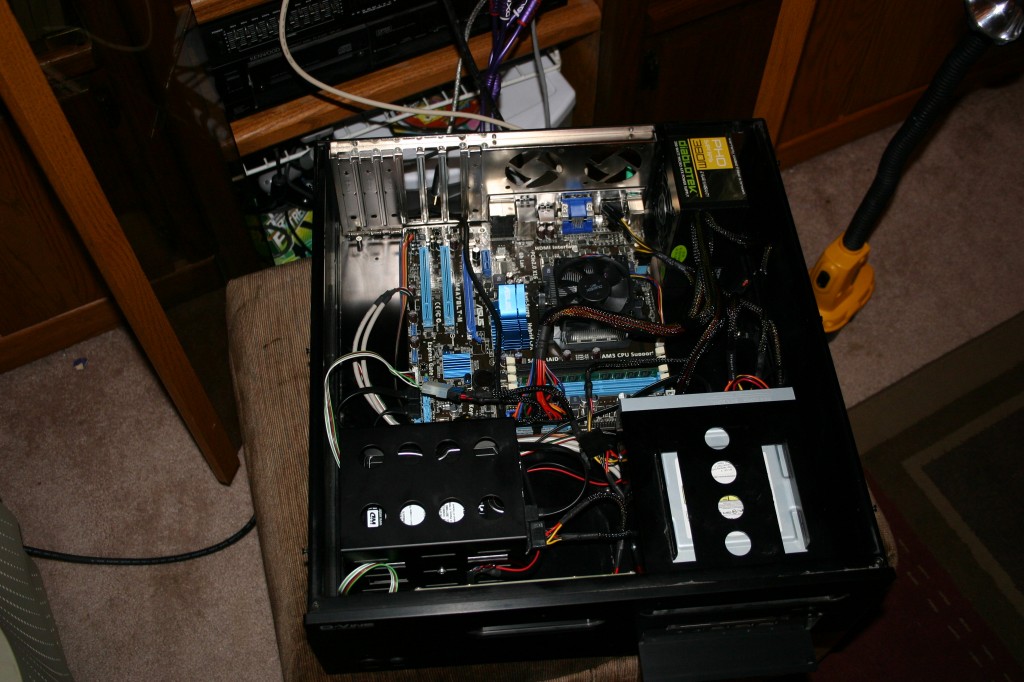 I booted it up before securing the top cover and checked to verify and configure the BIOS making sure the system recognized all of the basic components. Then after connecting the LCD (my device is an older parallel port device (HD44780) rather than a USB interface, which will give me great grief in the days to come – but that’s the subject of the next blog post (part 4 – software configuration)), I installed the cover and slid my new media server onto it’s shelf in the AV rack of the entertainment center.
The photos below are after many days of working in my free time on configuring this machine. It took considerable effort and a lot of research. As of this writing, I am still dealing with some nuisance problems, but all in all she is up and running…
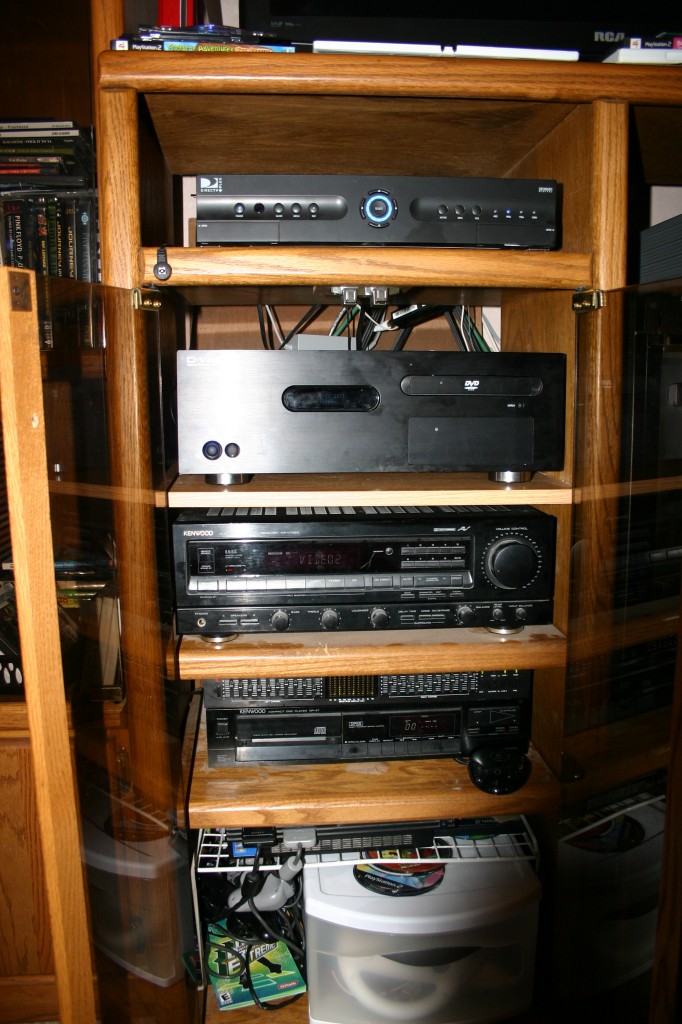 (I really should have dusted under the stereo receiver before taking this photograph)
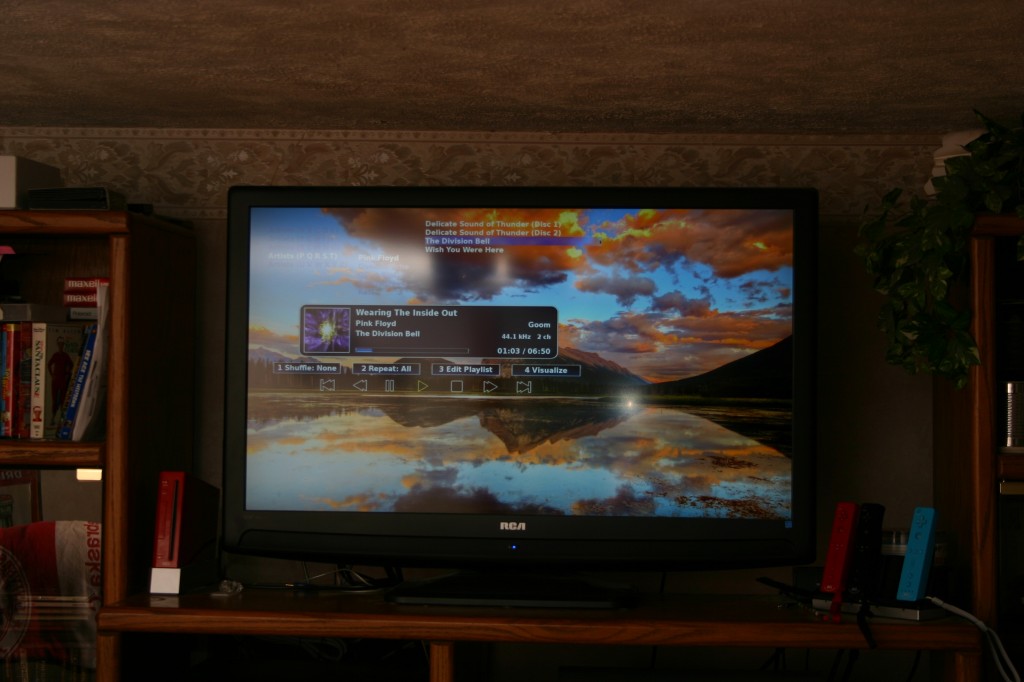
The photo below shows mediafurnace running MythMusic (MythTV 0.24.1) with the Arclight 1.0 theme and a high def. desktop image from Interfacelift in HD (1080i) on my RCA 48″ HDTV. Listening to some ‘Pink Floyd’ as I write this blog post.
 Check back in a few days, as I will try and carefully document the software and driver configuration (assembling the hardware was the easy part)…
MythTV – Fedora HTPC Rebuild Project part 2
See also…
- MythTV – Fedora HTPC Rebuild Project part 1 – The need for a rebuild
- MythTV – Fedora HTPC Rebuild Project part 3 – Building the New Media Server
- MythTV – Fedora HTPC Rebuild Project part 4 – Loading and Configuring Software
Part 2 – Home Automation / Weather Station
This machine is NOT the media server that is the main subject of this series of posts titled ‘MythTV – Fedora HTPC Rebuild Project’, however due to the fact that the previous media server described in part 1 contained other processes that are my hobbies as well, It’s construction and configuration is inextricably tied to the rebuild project. This box also served as a ‘temporary safe haven’ for the hard drive containing the multi-gigabytes of media files from the downed former media server. It is my intention to come back at a later date and document this machine (which is doing some pretty cool stuff in it’s own right), but for now I am moving on to documenting the media server itself.
MythTV – Fedora HTPC Rebuild Project part 1
Part 1 – The need for a rebuild
See also…
- MythTV – Fedora HTPC Rebuild Project part 2 – Home Automation / Weather Station
- MythTV – Fedora HTPC Rebuild Project part 3 – Building the New Media Server
- MythTV – Fedora HTPC Rebuild Project part 4 – Loading and Configuring Software
A Little History…
During the winter of 2004 I built my first Home Theater PC. I had intended on using some of the scrap / spare hardware I had laying around but as the project planning progressed I ended up ordering new components for the construction. I started by ordering an Asus A7N266-VM motherboard, an AMD Athlon 2100-xp processor, 512 MB ram, a WD 360 GB hard drive, and a Sony DVD-RW drive from Newegg.com. I installed this hardware along with an upgraded heat sink / processor fan purchased from a local vendor into an old gutted Dell Exclaim desktop chassis (it sort of fit). Somewhere along the line I scavenged up a suitable power supply.
It was my initial intention to load Red Hat Linux as an operating system (I already had, at the time, a file server running RHL 6.2). The current version at the time, I believe, was Red Hat Enterprise Linux 3 or 4. After some research I decided to go with Fedora Core 4 and use MythTV on top of the GUI. This decision was largely due to discovering some how-to docs from Jarod Wilson’s Fedora Myth(TV)ology which made my attempt possible. After reading Jarod’s site I ordered (can’t remember from where) a Hauppauge PVR-350 TV tuner card for the project. After several late nights and a few grey hairs I had a working system. I was then that I found (somewhere on the internet) a specialized HTPC case, an Ahanix D-Vine black micro-ATX chassis with a 16×2 line LCD screen on the front.
Relocating the system’s internal hardware into it’s new case and a few more tweaks and I had my completed PVR / HTPC. I named this machine ‘Mediafurnace’ on my network, and usually referred to it as ‘the Myth box’. This system ran nonstop for roughly 6 years. During that time my original linux file server died so I moved many of those processes to the myth box, the most notable of which was my ‘home automation’ damon Heyu.
Mediafurnace dies…
At exactly 10:07 PM (according to the LCD display), the night before we were expecting 30 guests at our house for my wife’s birthday, mediafurnace froze. An attempted reboot resulted in the motherboard chirping quickly and then… nothing. Dead motherboard!! A physical inspection revealed some melting and that distinctive burned electronics smell. Damn! This machine’s done!!

