See also…
- MythTV – Fedora HTPC Rebuild Project part 1 – The need for a rebuild
- MythTV – Fedora HTPC Rebuild Project part 2 – Home Automation / Weather Station
- MythTV – Fedora HTPC Rebuild Project part 4 – Loading and Configuring Software
Part 3 – Building the New Media Server
The Components…
Reused Components (from original machine I built in ’04 or ’05 as well as parts scavenged from here and there)
- Ahanix D-Vine ATX / micro-ATX HTPC chassis (no longer made)
- Samsung HD44780 VFD 16×2 (front panel LCD display)
- Sony SATA DVD / CD burner (traded out on another machine for the original Sony IDE DVD drive that was in the old media server)
- Logitech wireless USB keyboard & mouse
New Components
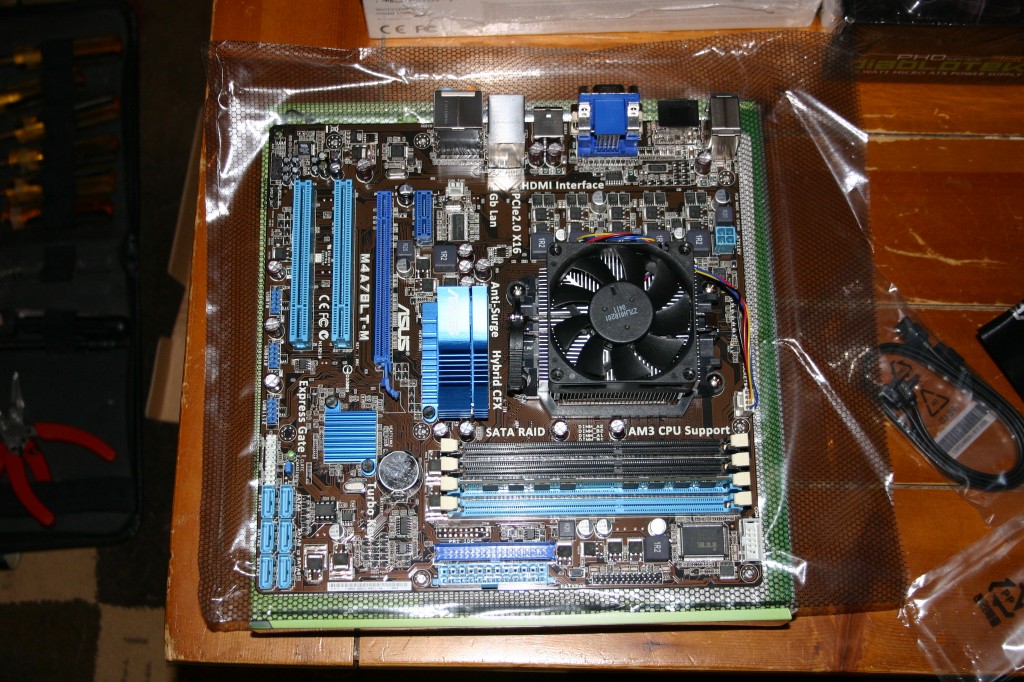
- ASUS M4A78LTM motherboard (on board ATI Radeon™ HD 3000 VGA/HDMI/DVI ports) (on board VIA VT1708S 8-Channel High Definition Audio)
- AMD Athlon II X2 3.0GHz microprocessor
- Kingston 2GB DDR3 RAM
- Western Digital Caviar Black 1TB SATA 3.0Gb/s
- Hauppauge HVR-1600 (model 1199) dual tuner (HDTV tuner) (NTSC analog tuner)
- Diablotek 380W Micro ATX power supply
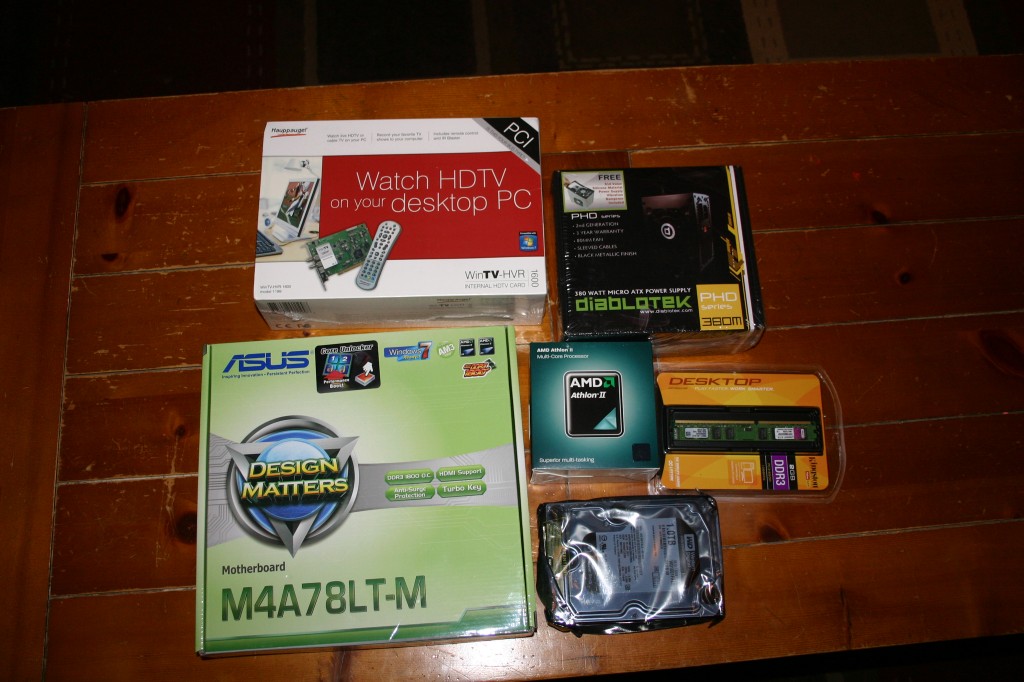
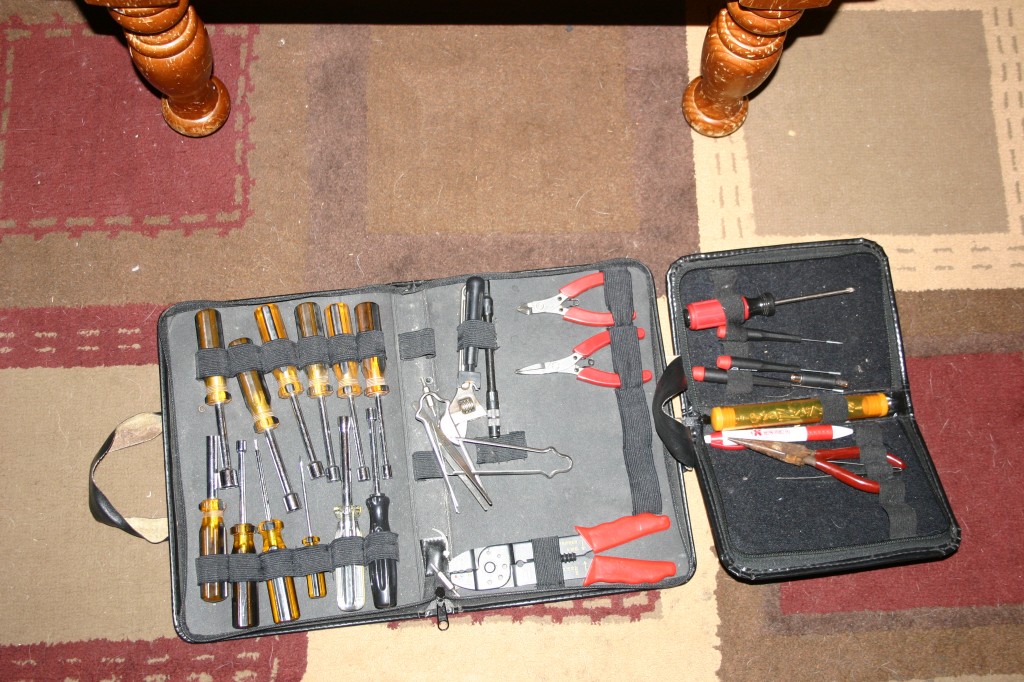
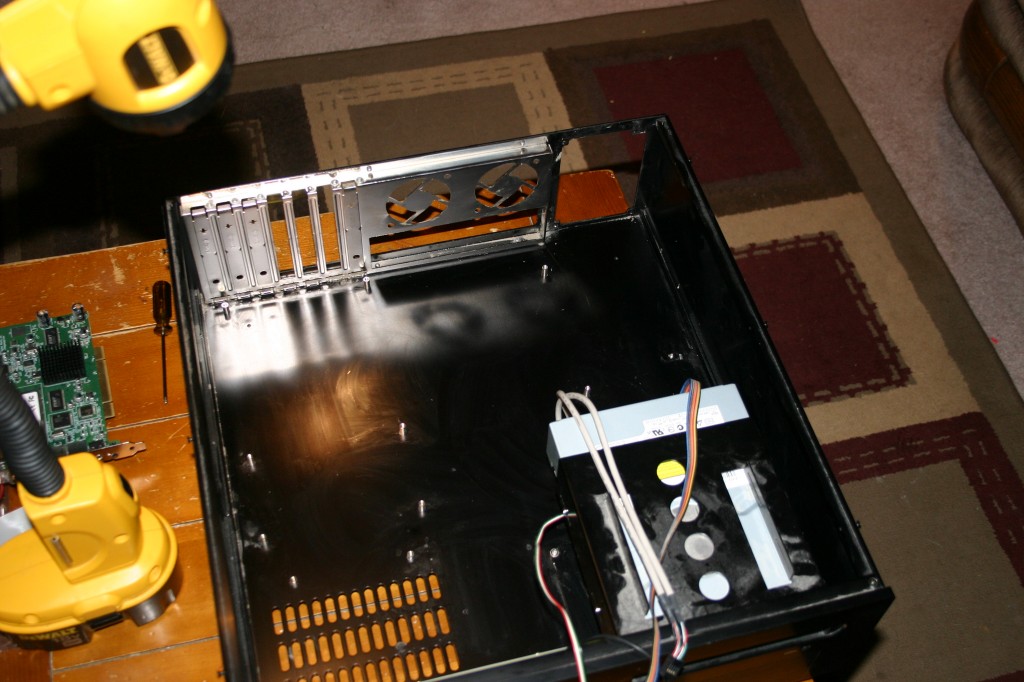
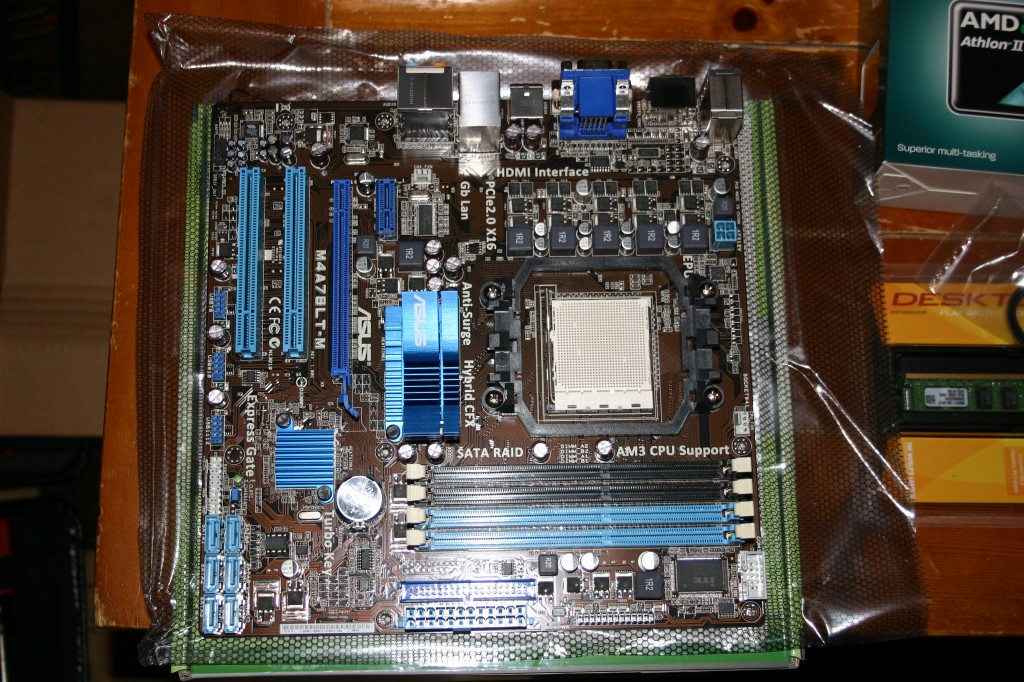
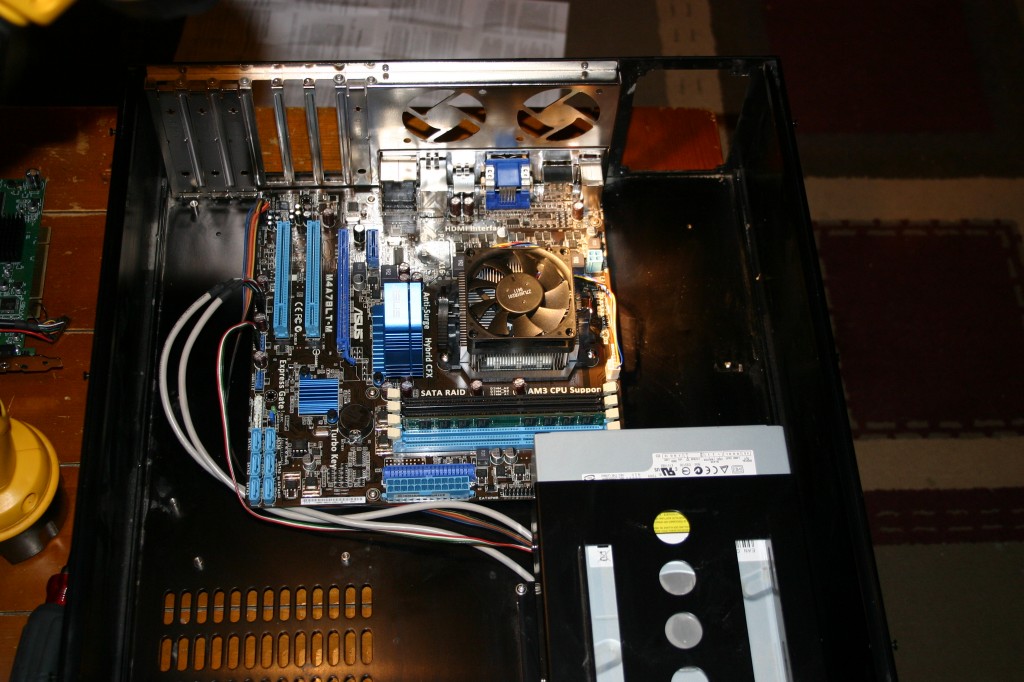 Now time for the left drive cage (containing the 1 TB hard drive) to be installed just behind the LCD card. Also installed at this point is the HDTV tuner, the system power supply and cable connections to the front panel audio inputs, front panel USB connections and card reader.
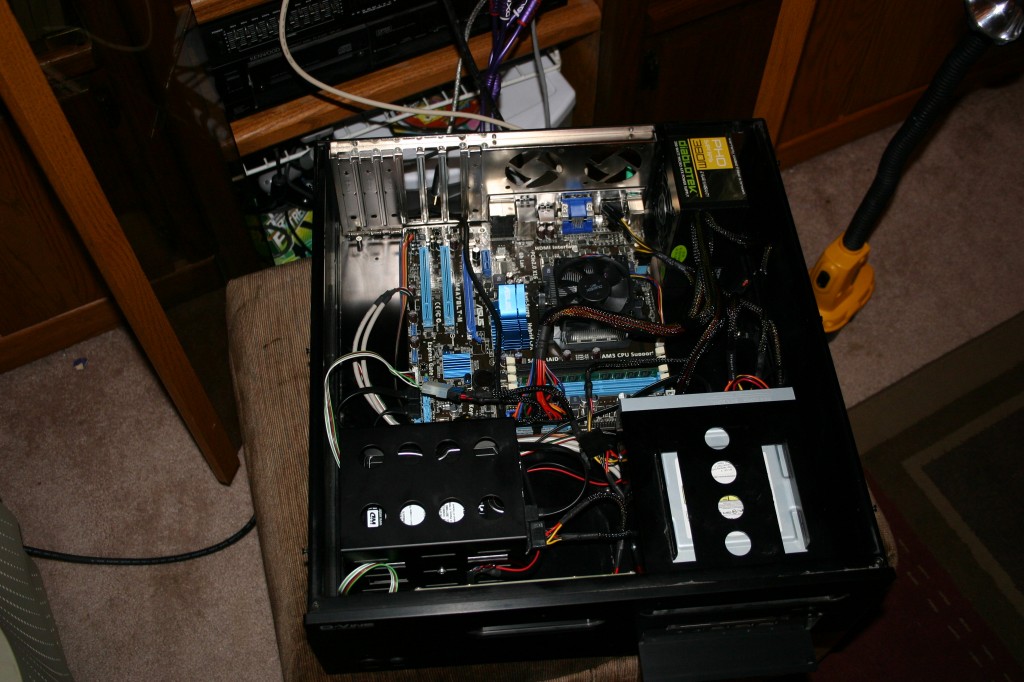 I booted it up before securing the top cover and checked to verify and configure the BIOS making sure the system recognized all of the basic components. Then after connecting the LCD (my device is an older parallel port device (HD44780) rather than a USB interface, which will give me great grief in the days to come – but that’s the subject of the next blog post (part 4 – software configuration)), I installed the cover and slid my new media server onto it’s shelf in the AV rack of the entertainment center.
The photos below are after many days of working in my free time on configuring this machine. It took considerable effort and a lot of research. As of this writing, I am still dealing with some nuisance problems, but all in all she is up and running…
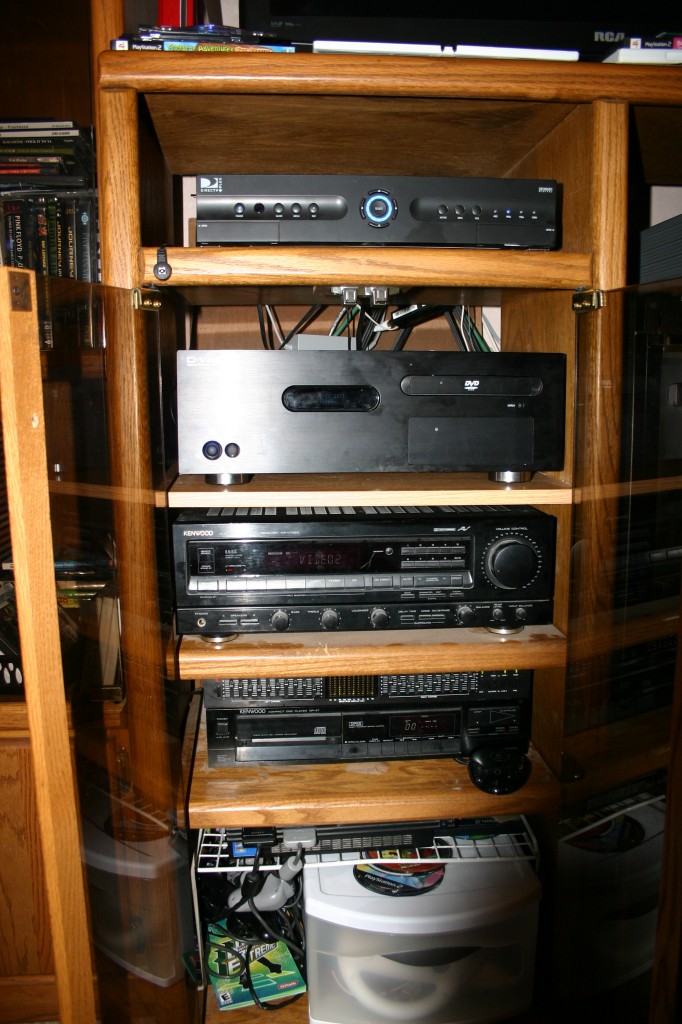 (I really should have dusted under the stereo receiver before taking this photograph)
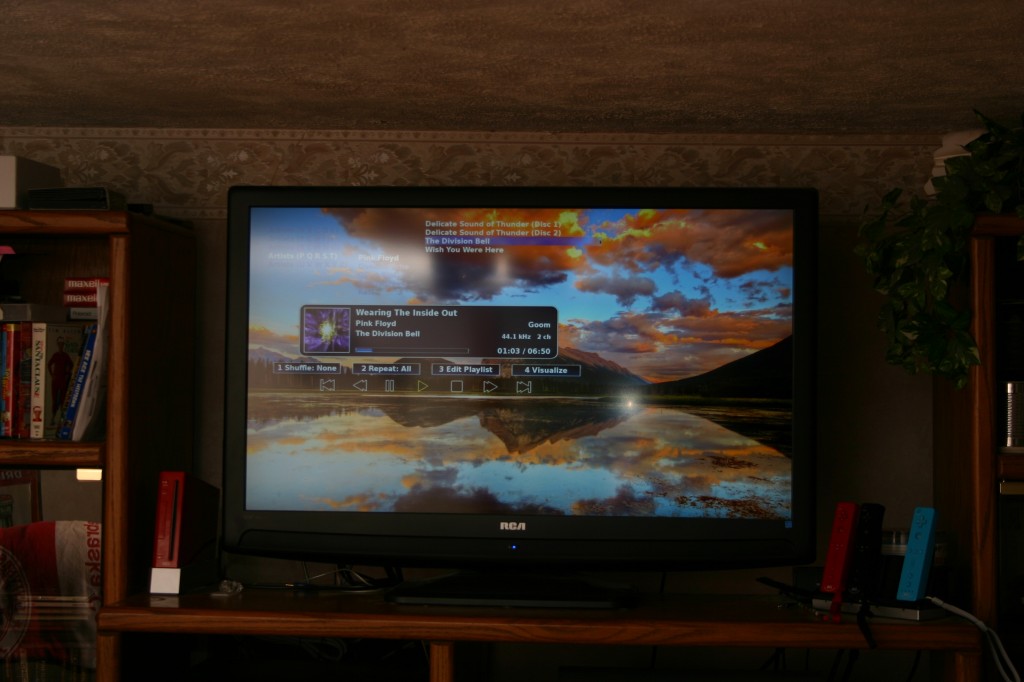
The photo below shows mediafurnace running MythMusic (MythTV 0.24.1) with the Arclight 1.0 theme and a high def. desktop image from Interfacelift in HD (1080i) on my RCA 48″ HDTV. Listening to some ‘Pink Floyd’ as I write this blog post.
 Check back in a few days, as I will try and carefully document the software and driver configuration (assembling the hardware was the easy part)…


I have this same case, how did you get the vfd working with a board without a parellel port? parellel to usb adapter maybe?
I actually have an on board parallel port on the MB, however in my haste, I was unable to locate the correct cable to connect the VFD to the MB directly via pin conversion cable in any local store in my area. Not wanting to wait on an internet order, what I did was buy a cheep parallel / serial port with a dual 4-pin MB USB plug. And fished the display’s parallel cable through the box and connect to the new parallel port on the back of the case.